Tag Archive for: Featured

My grandfather holding a camera with his brother-in-law, c. 1959

Family Photo Scanning Project

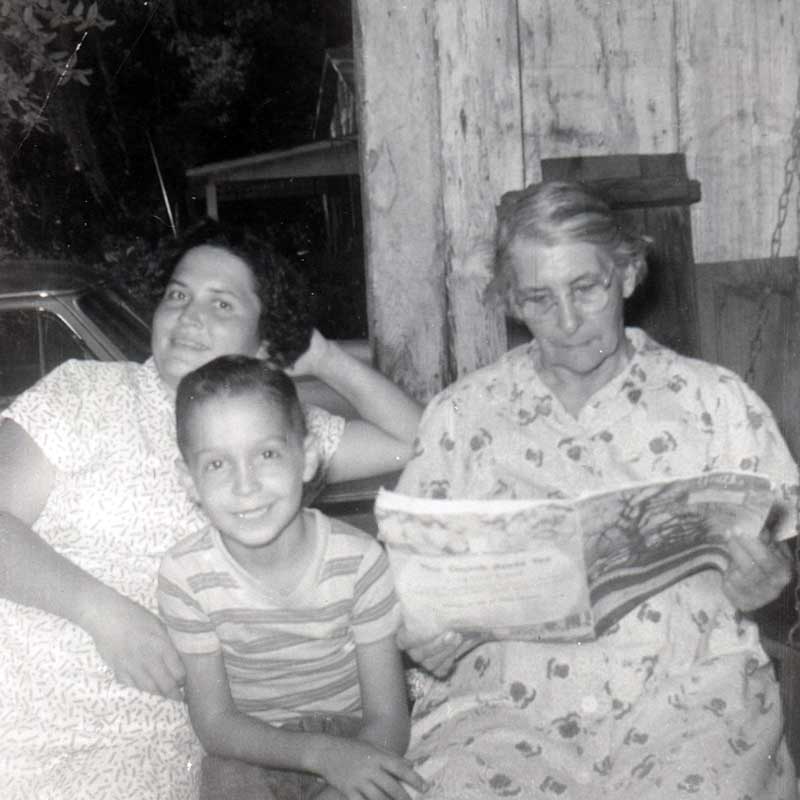
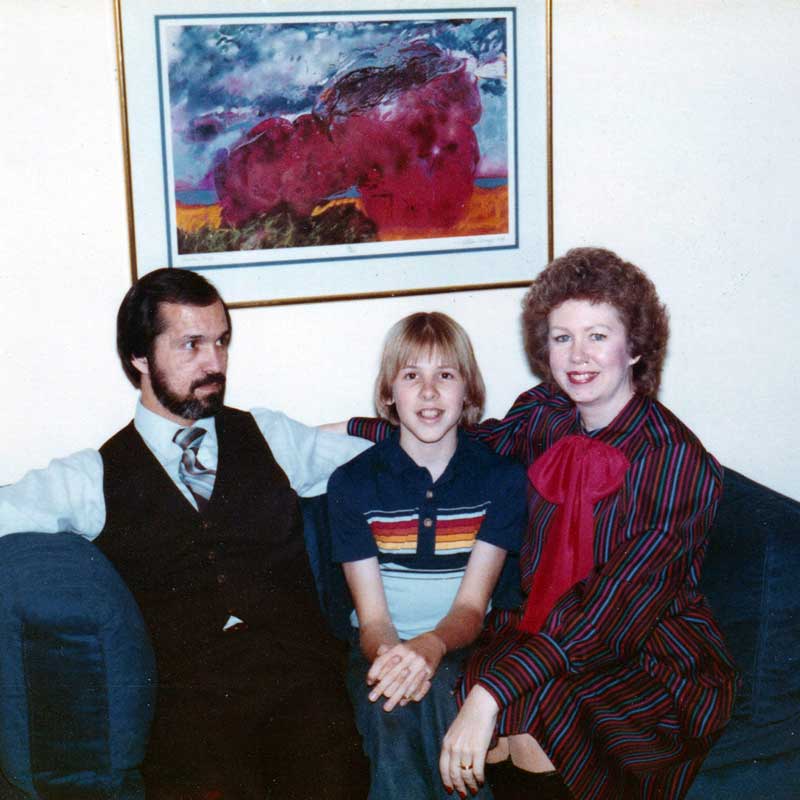
Since Dad passed in July, I’ve been immersed in a massive project to scan family photos from a variety of sources: mine, my mom’s, my dad’s, stacks of photos and albums from his brother and parents, childhood photos from when my brother and sisters were growing up…

My office floor was covered with boxes of photos, tin cans from the 60s that my grandmother had stashed photos in to keep them safe, even loose piles of photos that I’d found here at our house.

So far, I’ve scanned around 3,300 photos (comprising 1.78GB of data) and I’m mostly done now. I’ve also started a new Facebook group to launch a project to track down families of my paternal grandmother’s siblings in hopes of giving them these priceless photos of their ancestors that were in my grandmother’s albums.

Basically, I separated the photos into batches based on source. For example, batch 1 is dad’s photos albums, batch 2 is my grandmother’s photo albums, batch 3 is her loose photos. I ended up with 11 batches of photos, all of which are full-sized scans up to 8.5×11″ and containing anywhere from 1 to 8 images. The next phase is to split the images out and optimized them digitally, though that’s a much longer-term project and a significant time investment.

A number of folks have asked me what I used to scan them. There’s a simple answer here, but for most people, a little more detail will be helpful. I had a lot of older, fragile photos, like the 3×3″ photos from the 40s and 50s. These need to be handled carefully, so a flatbed scanner is preferable, and a higher resolution is necessary since blowing them up will result in quality loss if they are scanned at a lower resolution.

The Canon CanoScan LiDO 400 flatbed scanner is perfect for this task and priced very reasonably at $90-120, though finding it in stock takes some patience. It scans at resolutions up to 4800 dpi, so I’m able to take one of my grandmother’s small photos from 80 years ago, or a wallet-sized portrait of my dad in his police uniform, and blow them up to an 8×10″ print with no real loss in quality. It scans a page in 8 seconds, but this assume 300 dpi, with higher resolutions taking longer to scan. This will make more sense in a moment when we compare it with another option below.

If you have newer photos and no plans to print them in a much larger form (i.e., you have 4×6″ prints and aren’t likely to want to print 8×10’s of them) then scanning at 300 dpi is perfectly sufficient. You can find more information about scanning resolutions here. And since you aren’t scanning older, fragile photos, you should go for speed.

The Plustek ePhoto Z300 photo scanner is probably your best bet, and would do in an afternoon what I spent close to a week doing with a flat bed. This scanner is slightly more expensive at around $200, and it’s limited to 300 dpi, but it scans a 4×6″ print in only 2 seconds and has a bulk feeder. It’s definitely the way to go if you’re just trying to make digital backups of photos, which everyone that has prints should do.

Hope this is helpful and have fun!

Alanis on stage in Raleigh

Hoping for A Normal Year

We really need a normal year. Like everyone else, our world was significantly disrupted in spring of 2020. Our kids were out of school. Our jobs were chaotic (wife manages clinical trails, I work in the healthcare industry). We were terrified about what could happen if we had a coronavirus infection in our home. I was high risk after spending much of my adult life as a smoker, and my daughter was having crazy-high fevers every few days. We were worried her fevers might indicate some more serious underlying issue.1

We isolated in our home, dutifully wore our masks, and practiced social distancing. We did everything we were supposed to. The problem is that a lot of people didn’t do those things. Even after a year or so, our kids were still secluded in their home, my son having been in virtual classes for all of his first grade year. Our neighbors had all grown complacent, my son could certainly hear the screaming and shrieking of the kids in adjacent yards playing. Our hearts regularly broke for our children through all of it.

And then there were vaccines. Finally.

Read more
Cameroonian soya meat

Making Cameroonian Soya

When I was in Cameroon during college for an anthropology field school, one of our favorite things was going to the market and getting soya (or suya if you’re in Nigeria) from the street vendors. Originally making its way through sub-Saharan Africa thanks to the Hausa people, soya is commonly sold in the streets of markets, in villages, and even along roadways where tour buses or bush taxis stop to allow passengers to buy items.

I first had soya on our initial evening in Douala, the country’s principal seaport, where we spent two days. We met up with a professor from the University of Youndé and while sitting outside in a marketplace talking with him, purchased soya from one of the vendors nearby. It was served with a sauce that he repeatedly told us to avoid because it was “very hot.” The sauce, appropriately called “pepper sauce” by Cameroonians is a very common condiment and primarily made with habanero, garlic, onion, basil and other spices. And it is hot. Eventually, I inadvertently swiped some of the soya meat through the sauce and within a few seconds my eyes were watering and my nose running. It’s really good though.

As we made our way to Youndé, the capital of Cameroon, the following day, our bus stopped on the side of a road in a market area and vendors were sticking kabobs of soya meat in through the windows hoping to entice passengers to buy them, which we did. We stayed a few days in Youndé to care for any issues that may require government services, and then made our way to Bamenda where we would spend the next several weeks conducting our research projects.

After an afternoon of interviews and data gathering, a fellow student and I would commonly spend an hour or two at a market having a beer and eating soya. We could get a whole plate of soya for about the equivalent of 25 cents. It was a good chance to decompress, talk about the day’s work, and enjoy tasty food.

Read more
Finished burnt ends

Smoked Brisket Burnt Ends

After trying my hand at smoking a pork butt a few weeks ago, I decided to try a smoked brisket on my new Weber Smokey Mountain cooker. This was a little daunting to me because of the duration of the cook, but it actually wasn’t anymore involved than the pork butt was. And the payoff was incredible.

For this cook, I followed Malcolm Reed‘s recommendation for cooking brisket burnt ends. If you haven’t seen Malcom’s site, HowToBBQRight.com, you’re missing out on a great resource. His videos were very influential in making me want to buy a smoker and start making some of the stuff from his site.

Food: Brisket and Burnt Ends
Temperature: 250°
Cooking time: 9-12 hours
Wood used: Pecan, Cherry
Note: Cooked low and slow until internal temperature reaches 205°

Read more